
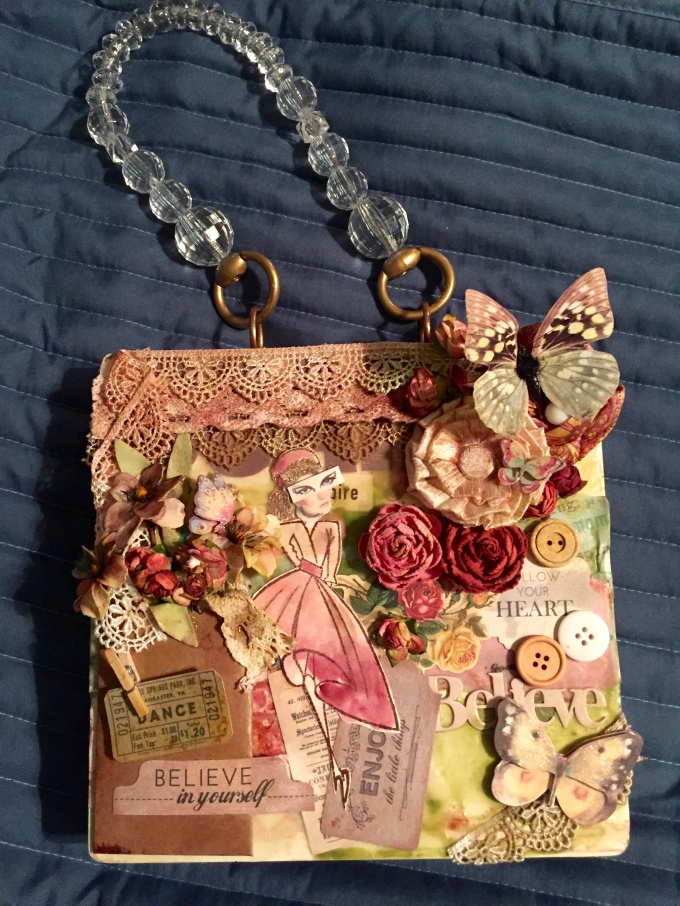
I decided to take a break from creating layouts to create something a little more fun and three dimensional. I had this old wood box that I collaged years ago and covered in beeswax. I decided to give it a makeover and this is what I came up with.
Supplies
- Tim Holtz ideaology - ring binder
- Tim Holtz ideaology - ephemera pack - emporium
- Ranger Distress spray - fossilized amber
- Art-c - ephemera collage kit
- Paper Studio (Hobby Lobby brand) spare parts - Pink vintage fabric flower, pinks paper flower assortment
- My Garden Friends (Hobby Lobby) - butterflies
- K & Co - layered butterfly accents
- Faber Castel gel medium
- Scotch tacky glue
- Faric glue
- Tacky tape
- foam tape
- Dylusions mini couture stamp
- Ranger Distress Inks
- 7 gypsies color wash
- assorted small silk flowers
- purse handle
- gold paint
- electric drill
Unfortunately I didn't take photos during the process so I'll walk you through some of the more interesting techniques.
I started off with the little envelope on the left. I knew I wanted stuff growing out of it so I tucked in some lace and flowers. The flowers I had were cream colored so I hand painted them to match my other elements using distress paints. This is super easy and looks great. Create a palette on a craft mat using several coordinating distress inks. I believe I used mahogany, worn lipstick and tea dye. Just rub a little on the mat then use a water brush to paint with it. Use as much or as little water as you need to achieve the desired effect.
I then added a bunch of collage elements to hide the old stuff . I used gel medium to stick everything down.
I think my favorite element is the stamped woman. I used a dylusions stamp which is headless with archival ink so it wouldn't smudge. I painted the dress and hat using the same technique and colors as the flowers. The head and eye are free images that I found on the internet. I Layered them and added them to my project using gel medium.
The strips of lace are from the ephemera kits. I aged them using a combination of watered distress inks and color wash. They are stuck down with tacky tape. I left the top one long so I could fold it onto itself and have it cascade down to the pocket. I stuck it down where it folds with fabric glue. Next time I may use hot glue because it took forever to dry.
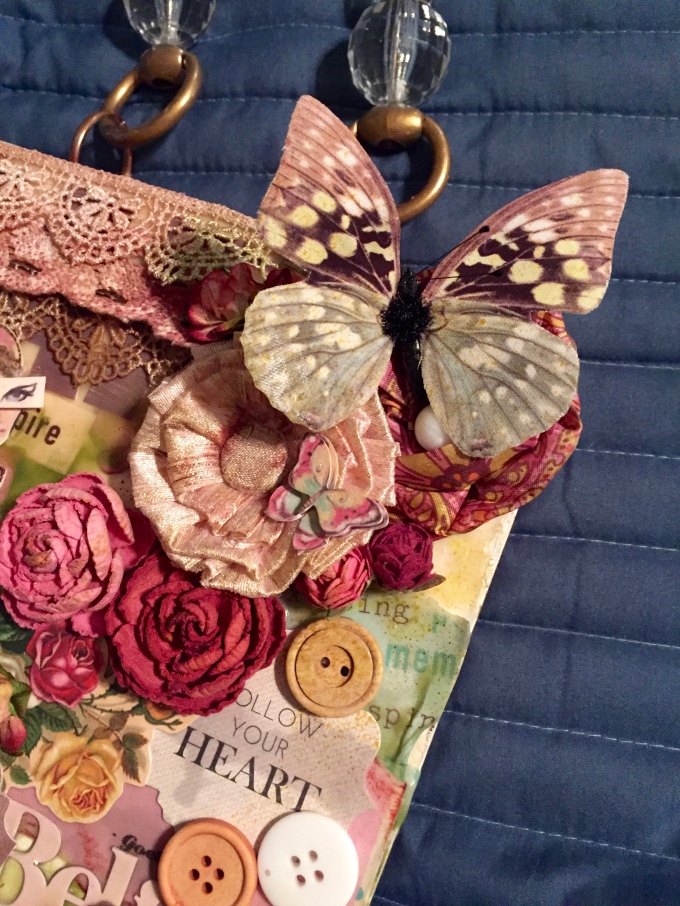
Next I collaged the larger elements, sticking them down with tacky glue. I think hot glue would have worked better here also. The butterfly is on a wire so I just wrapped it around the center of the flower. I added a few spritz of distress spray to give everything a more uniform color.
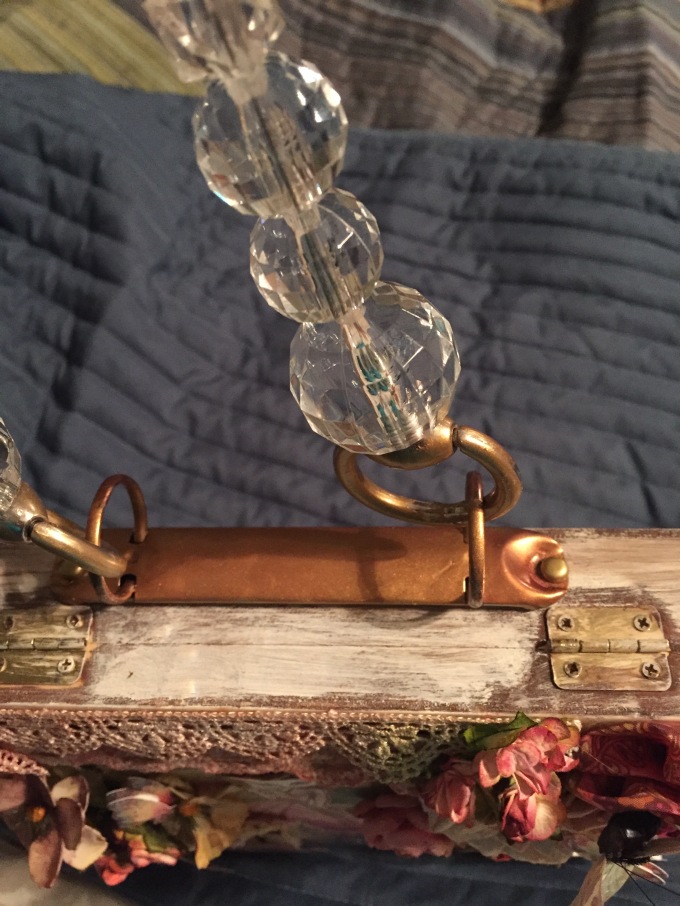
Finally for the handle I used a Tim Holtz ideology ring binder and a pre made purse handle from the craft store. The fittings were originally silver which didn't really go with my project so I spray painted them gold. I drilled holes in the top and used brads to attach the ring binder.
Voila...project completed. Please leave me comments and let me know what you think. If this inspires any of your own projects post a picture in the comments. Thank you so much!
This is a wonderful tutorial from the amazing Lily.
We hope this will inspire you to create!
On the sidenote: Keep in mind to use up your stash. And if a tutorial is mixed media, you can create a scrapbook page ofcourse. It is all about your interpretation about a tutorial. This is the question I get a lot.
Get inspired, learn and create whatever you want. It is your style that makes it your story.
Thank you.
Emine Pazan-Pala
Founder Scrapmixers
No comments:
Post a Comment